Defragging the disk after being used for some time can be helpful in keeping the disk running fast. However, defragmentation improves file access by reorganizing scattered data, works safely only for HDD, as this process will reduce the service life of SSD. You may also want to know the differences between SSD and HDD.
If you use SSD like most other Windows user do, TRIM is the technology designed for SSD. It clears out unused data blocks marked for deletion, tuning up your Windows system and boosting your PC speed as fast as brand new. In this post, we will walk you through the steps to TRIM the SSD in a Windows PC by using Wise Care 365, a comprehensive PC tune-up tool.
Steps to run TRIM on Windows using Wise Care 365
Step 1. Launch Wise Care 365
Launch Wise Care 365 by searching it from the Windows Start menu. If you have not had it on your computer, visit the official website to download the software and then install.
Step 2. Navigate to Disk Defrag
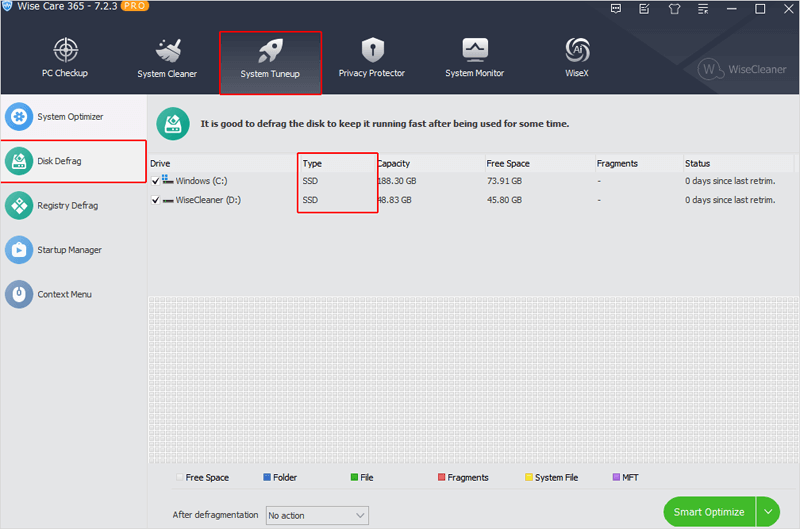
On the interface of Wise Care 365, switch to the System Tuneup tab from the top toolbar, and then select Disk Defrag from the left-side pane below. Your disk drives will be listed on the list with their disk Type showing respectively.
Step 3. Start Smart Optimize
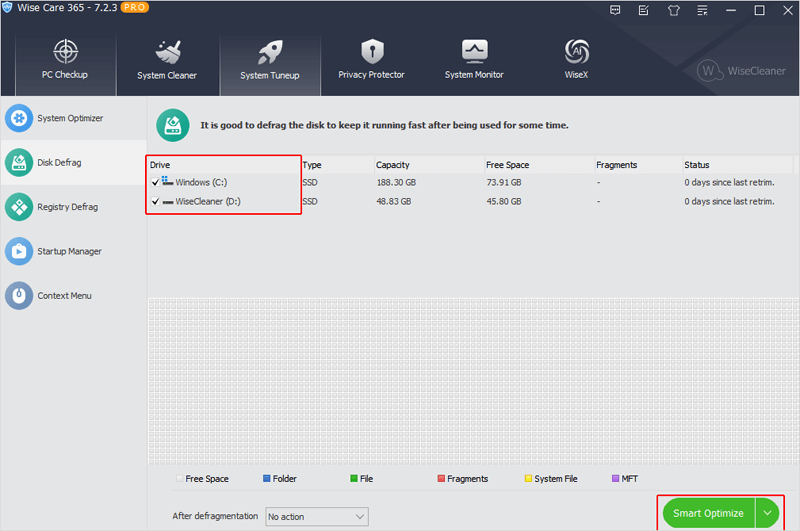
Please close all running programs currently before using SSD TRIM. To TRIM your SSD drive, check the box next to it and click on the Smart Optimize directly to begin the TRIM process.
Step 4. After TRIM
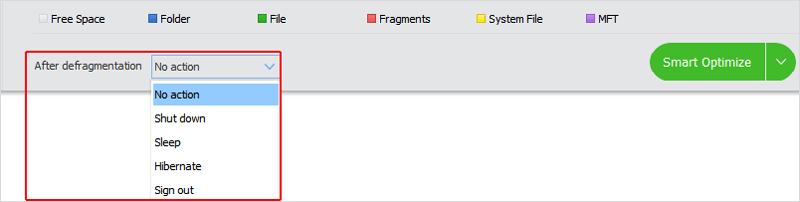
The process of TRIM usually takes a while. That’s why here are 5 options for you to choose accordingly to run automatically after optimization:
- No action
- Shut down
- Sleep
- Hibernate
- Sign out
Conclusion
The TRIM feature in Wise Care 365 optimizes SSD by boosting the overall performance and reducing unnecessary wear, thus increasing its longevity.

